ubuntu18.04安装nerfstudio
nerfstudio提供了一个简单的API,可以简化创建、训练和可视化NeRF的端到端过程。该库通过模块化每个组件来支持可解释的NeRF实现。nerfstudio源码地址: https://github.com/nerfstudio-project/nerfstudio , 通过模块化集成了多个NeRF扩展的实现,持续更新,带界面,license为Apache-2.0。
目前已支持的方法:(1).Nerfacto: facto NeRF,将专注于质量的模块和专注于更快渲染的模块相结合;(2).NeRF:《Representing Scenes as Neural Radiance Fields for View Synthesis》;(3).Instant NGP:《Instant Neural Graphics Primitives with a Multiresolution Hash Encoding》;(4).Mipnerf: 《A Multiscale Representation for Anti-Aliasing Neural Radiance Fields》;(5).NerfW: 《Neural Radiance Fields for Unconstrained Photo Collections》;(6).Semantic NeRF: 《In-Place Scene Labelling and Understanding with Implicit Scene Representation》.
1.安装Anaconda、cuda、cudnn、cmake、gcc、g++
网上有很多教程,这里不再赘述
//------------------------------------------------------------------------------//
安装号cuda之后
(1)在自己的环境下打开.bashrc文件,可使用vim ~/.bashrc命令;
vim ~/.bashrc
或者
gedit ~/.bashrc
(2)将下面几段代码粘贴进去,这里可建立软连接,可以通过修改文件中的路径切换cuda版本。
export PATH="$PATH:/usr/local/cuda-11.3/bin"
export LD_LIBRARY_PATH="$LD_LIBRARY_PATH:/usr/local/cuda-11.3/lib64/"
export LIBRARY_PATH="$LIBRARY_PATH:/usr/local/cuda-11.3/lib64"
(3)然后激活一下
source ~/.bashrc
2.新建环境
conda create --name nerfstudio -y python=3.8
conda activate nerfstudio
python -m pip install --upgrade pip
3.安装pytorch
pip install torch==1.12.1+cu113 torchvision==0.13.1+cu113 -f https://download.pytorch.org/whl/torch_stable.html
4.安装 tinycudann(这里面有很多坑!!)
这个是官方给出来的命令,不建议用,存在很多问题
pip install ninja git+https://github.com/NVlabs/tiny-cuda-nn/#subdirectory=bindings/torch
按照这些命令行安装
# 安装git
sudo apt-get install build-essential git
# 下载仓库
git clone --recursive https://github.com/nvlabs/tiny-cuda-nn
cd tiny-cuda-nn
# 还有两个包要自己手动安装
pip install fmt
pip install cutlass
编译(这一步可能会发生错误)
# 编译,如果没安装cmake的话需要安装cmake,至少3.18版本
cmake . -B build
cmake --build build --config RelWithDebInfo -j
编译错误
用这个命令直接指定到你要用的cuda,就解决了。
cmake -DCMAKE_CUDA_COMPILER=/usr/local/cuda-11.7/bin/nvcc . -B build
cmake --build build --config RelWithDebInfo -j
如果你之前已经build失败过,需要先删除掉你编译过的东西。
rm -rf build
安装tinycudann
# 安装tinycudann
cd bindings/torch
python setup.py install
或者
python3 setup.py install
验证安装(没有报错说明安装成功)
python
import tinycudann
5.安装nerfstudio
官方文档有两种安装方式,强烈推荐使用第二种,第一种会下载torch2.0.0,后面各种报错。
第一种,使用pip直接安装(不建议使用)
pip install nerfstudio
第二种,先下载github仓库,本地安装
# 下载github仓库
git clone https://github.com/nerfstudio-project/nerfstudio.git
# 进入文件目录
cd nerfstudio
# 安装nerfstudio
pip install --upgrade pip setuptools
pip install -e .
这里安装的时候应该会默认下载torch1.13.1,后面跑代码的时候依然报错,需要重新下载torch1.12.1,使用如下命令重新安装pytorch
pip install torch==1.12.1+cu113 torchvision==0.13.1+cu113 -f https://download.pytorch.org/whl/torch_stable.html
6.跑案例
从官方数据集下载person测试数据集,解压压缩包,并将其拷贝到nerfstudio的data/nerfstudio目录下(自己创建)。
执行以下命令:
ns-train nerfacto --data data/nerfstudio/person --vis viewer --max-num-iterations 50000
开始训练(需要点时间)
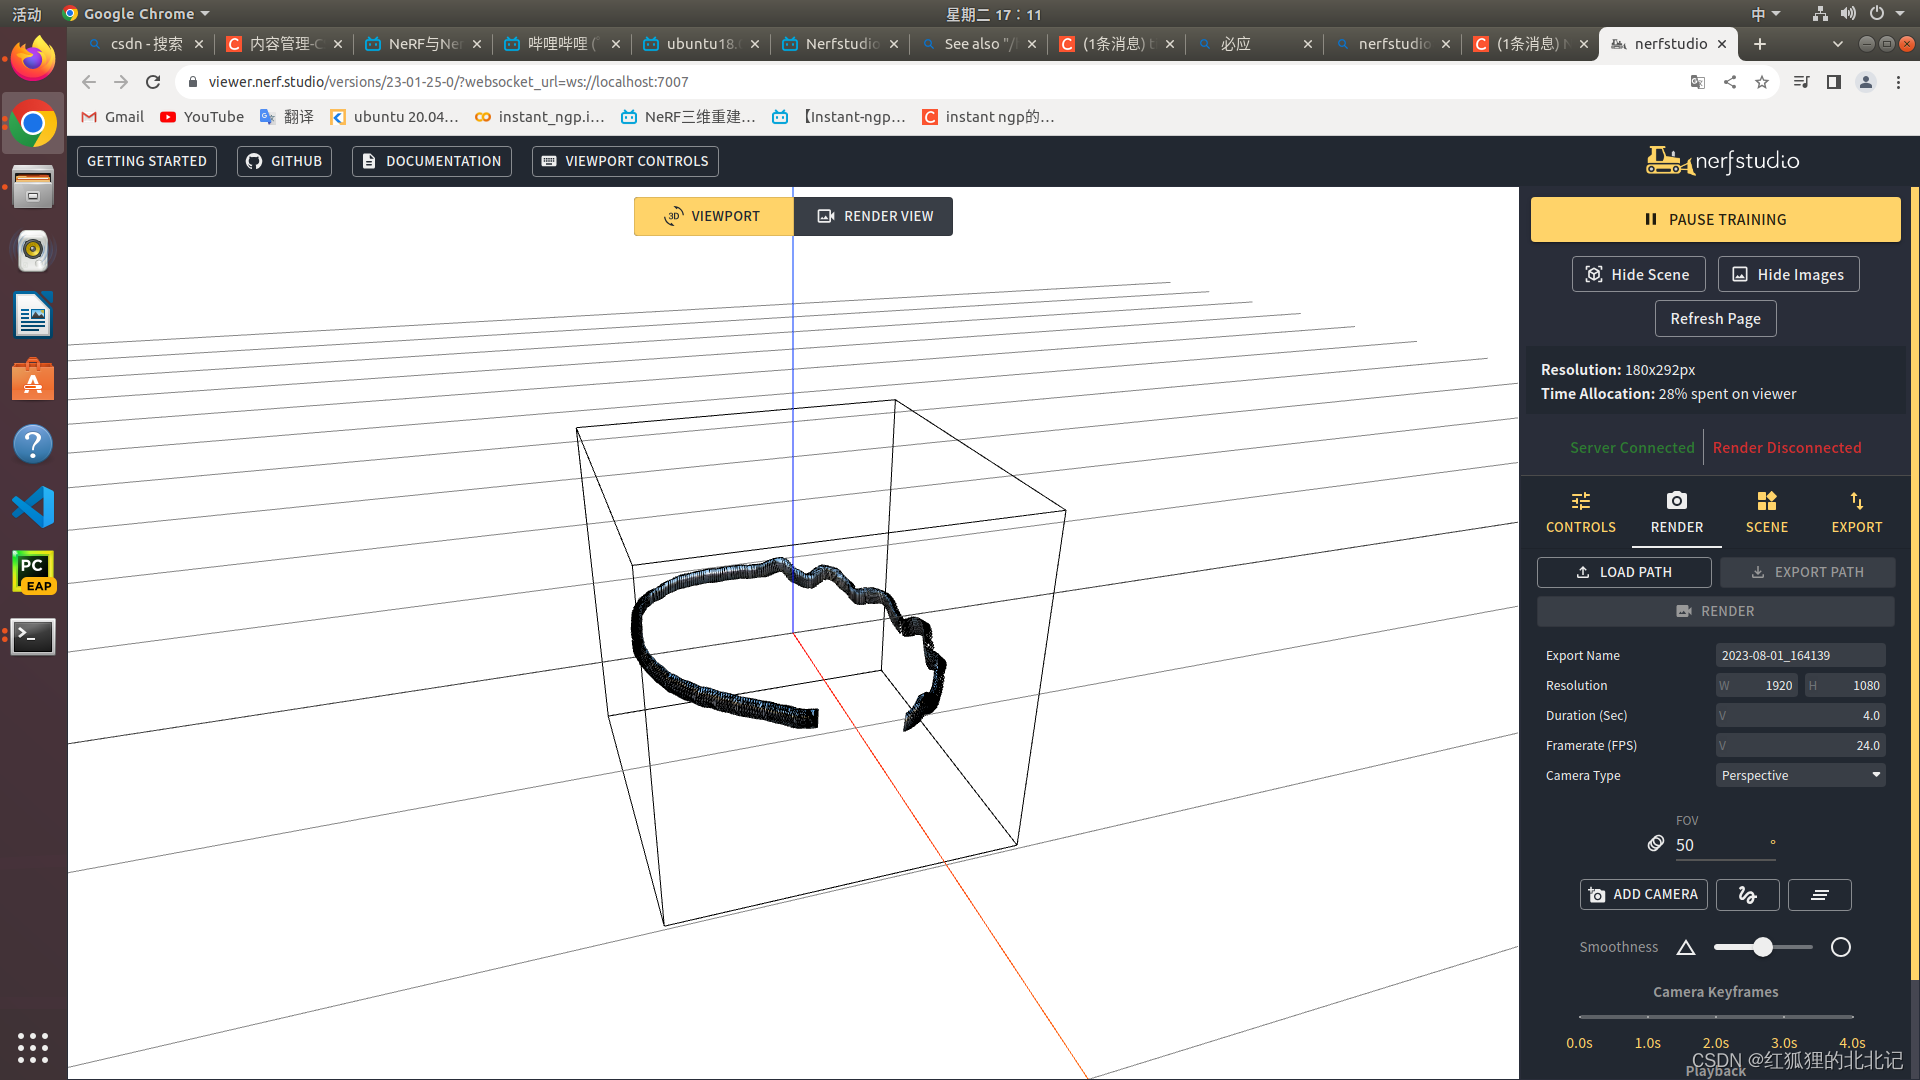
如果出现只有图片但是没有画面的情况,可以执行这个命令(等个几十秒就能看到):
ns-train nerfacto --data data/nerfstudio/person --vis viewer --max-num-iterations 50000 --viewer.skip-openrelay True

7.训练自己的数据集
多相机数据集
看这里的Metashapehttps://docs.nerf.studio/en/latest/quickstart/custom_dataset.html
数据集:
ns-process-data metashape --data data/nerfstudio/mouse/mouse --xml data/nerfstudio/mouse/mouse_save/mouse.xml --output-dir outputs/mouse/
训练:
ns-train nerfacto --data outputs/mouse/ --viewer.skip-openrelay True --pipeline.model.predict-normals True
ns-train instant-ngp --output-dir outputs/mouse/ --viewer.skip-openrelay True --pipeline.model.predict-normals True
视频
ns-render --load-config outputs/outputs-mouse/nerfacto/2023-09-14_195319/config.yml --traj filename --camera-path-filename outputs/mouse/camera_paths/2023-09-14_195319.json --output-path renders/mouse/2023-09-14_195319.mp4
点云
ns-export pointcloud --load-config outputs/outputs-mouse/nerfacto/2023-09-14_195319/config.yml --output-dir exports/pcd/ --num-points 1000000 --remove-outliers True --estimate-normals False --use-bounding-box True --bounding-box-min -1 -1 -1 --bounding-box-max 1 1 1
mesh
ns-export poisson --load-config outputs/outputs-mouse/nerfacto/2023-09-14_195319/config.yml --output-dir exports/mesh/ --target-num-faces 50000 --num-pixels-per-side 2048 --normal-output-name normals --num-points 1000000 --remove-outliers True --use-bounding-box True --bounding-box-min -1 -1 -1 --bounding-box-max 1 1 1
8.用colmap&&nerfacto
1.colmap数据集准备
ns-process-data {images, video} --data {DATA_PATH} --output-dir {PROCESSED_DATA_DIR}
ns-process-data images --data data/nerfstudio/2b/ --output-dir outputs/2b/
ns-process-data images --data data/nerfstudio/golf/ --output-dir outputs/golf/
2.训练
ns-train nerfacto --data {PROCESSED_DATA_DIR}
ns-train nerfacto --data outputs/2b/ --viewer.skip-openrelay True --pipeline.model.predict-normals True
ns-train nerfacto --data outputs/golf/ --viewer.skip-openrelay True --pipeline.model.predict-normals True
3.mesh
ns-export poisson --load-config outputs/outputs-2b/nerfacto/2023-09-12_205620/config.yml --output-dir exports/mesh/ --target-num-faces 50000 --num-pixels-per-side 2048 --normal-output-name normals --num-points 1000000 --remove-outliers True --use-bounding-box True --bounding-box-min -1 -1 -1 --bounding-box-max 1 1 1
4.点云
ns-export pointcloud --load-config outputs/outputs-2b/nerfacto/2023-09-12_205620/config.yml --output-dir exports/pcd/ --num-points 1000000 --remove-outliers True --estimate-normals False --use-bounding-box True --bounding-box-min -1 -1 -1 --bounding-box-max 1 1 1
5.視頻
ns-render --load-config outputs/outputs-2b/nerfacto/2023-09-13_143358/config.yml --traj filename --camera-path-filename outputs/2b/camera_paths/2023-09-13_143358.json --output-path renders/2b/2023-09-13_143358.mp4
9.用colmap&&instant-ngp
1.colmap数据集准备
ns-process-data {images, video} --data {DATA_PATH} --output-dir {PROCESSED_DATA_DIR}
ns-process-data images --data data/nerfstudio/2b/ --output-dir outputs/2b/
ns-process-data images --data data/nerfstudio/golf/ --output-dir outputs/golf/
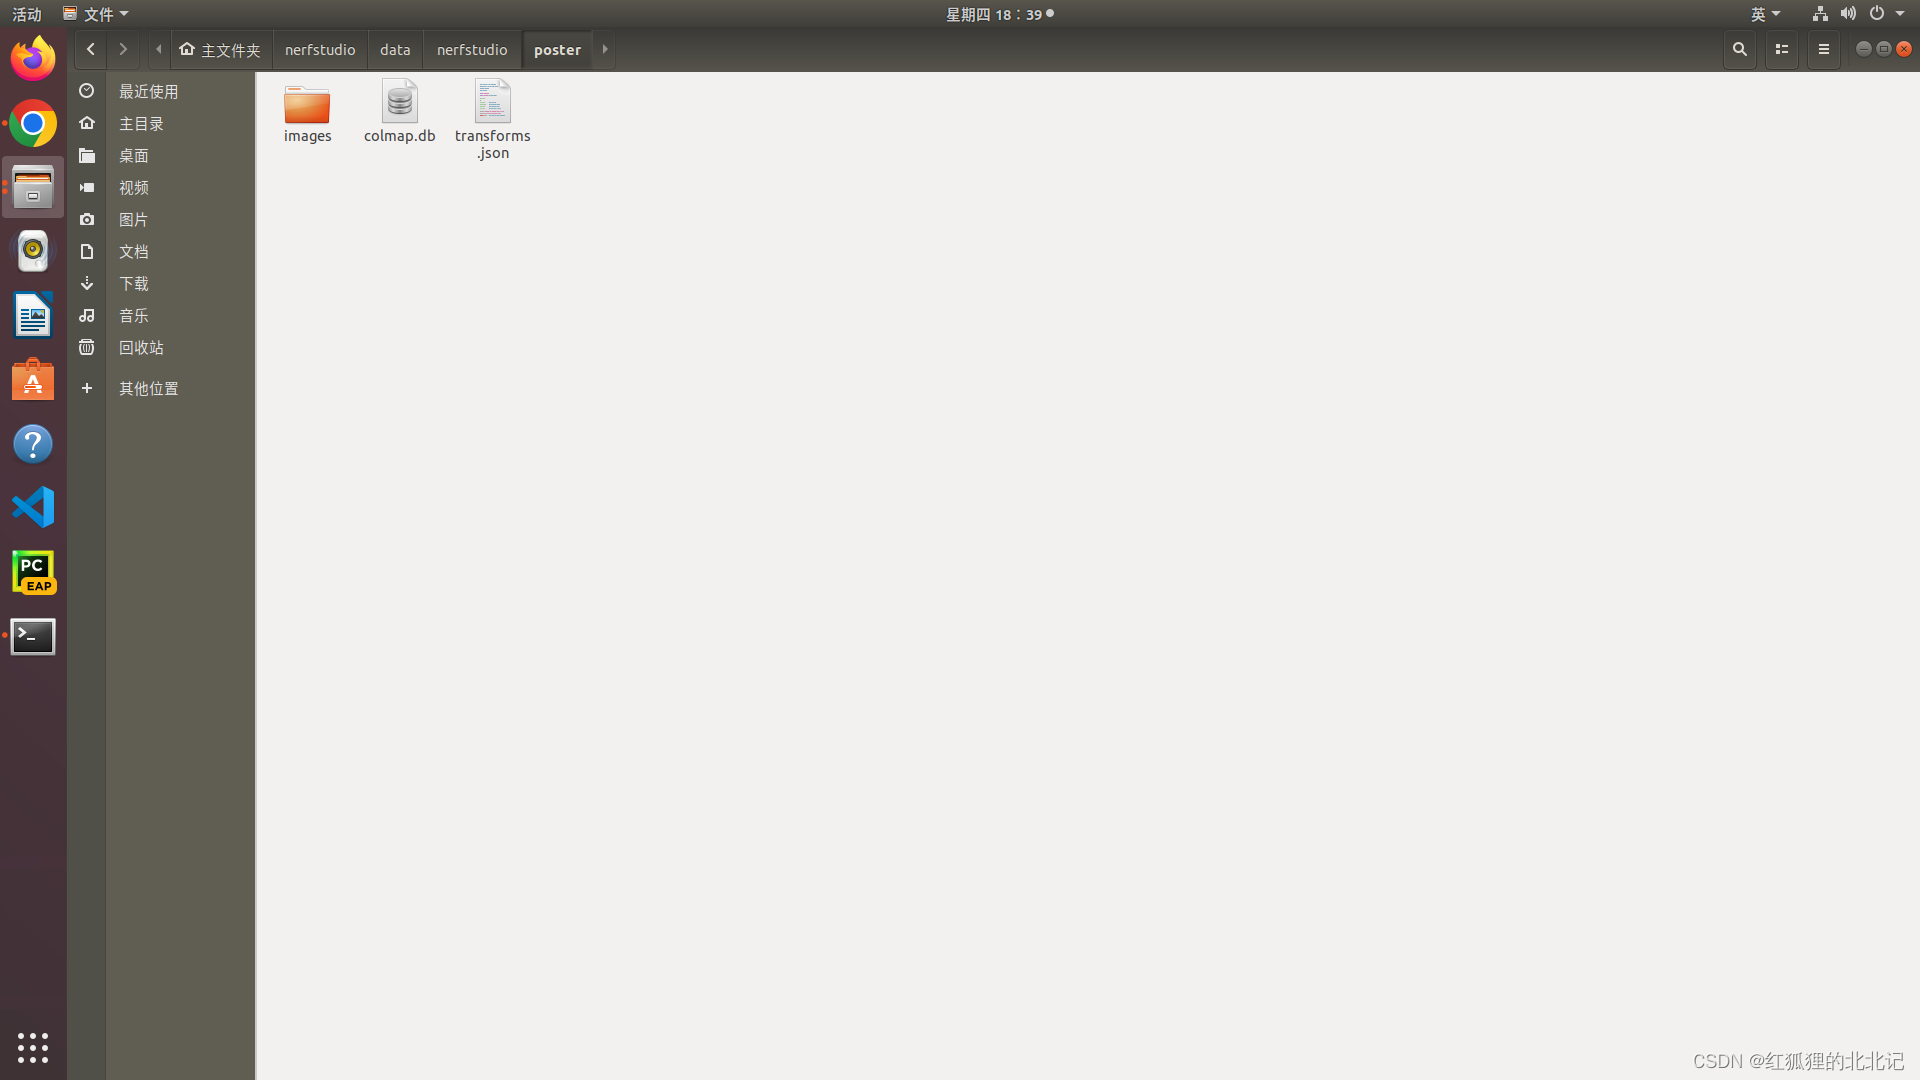
2.将生成的文件放transforms.json和images(你要训练的文件)放在data/nerfstudio/poster下
3.训练
ns-train nerfacto --data {PROCESSED_DATA_DIR}
ns-train instant-ngp --output-dir outputs/2b
10.psnr、ssim、lipips
运行命令行
ns-train nerfacto --data data/nerfstudio/person --vis tensorboard --viewer.skip-openrelay True --steps-per-eval-batch 50 --steps-per-eval-image 50 --steps-per-eval-all-images 200 --max-num-iterations 201 --viewer.websocket-port 7008


