Qwen3是阿里云开发的新一代大型语言模型系列,它是Qwen系列的一个重要迭代版本,继承了之前Qwen和Qwen2.5的经验和技术。Qwen3于2025年4月发布,并迅速因其卓越的性能、成本效益以及开源特性而受到关注。
一、利用Ollama
1.根据以下链接进入官网进行下载
https://ollama.com/download/OllamaSetup.exe
当然会比较慢,博主采用的方式是打开迅雷,新建下载任务后张贴下载链接后下载,下载后安装该应用。采用Ollama的话可以下载其他模型,此处仅介绍Qwen3,
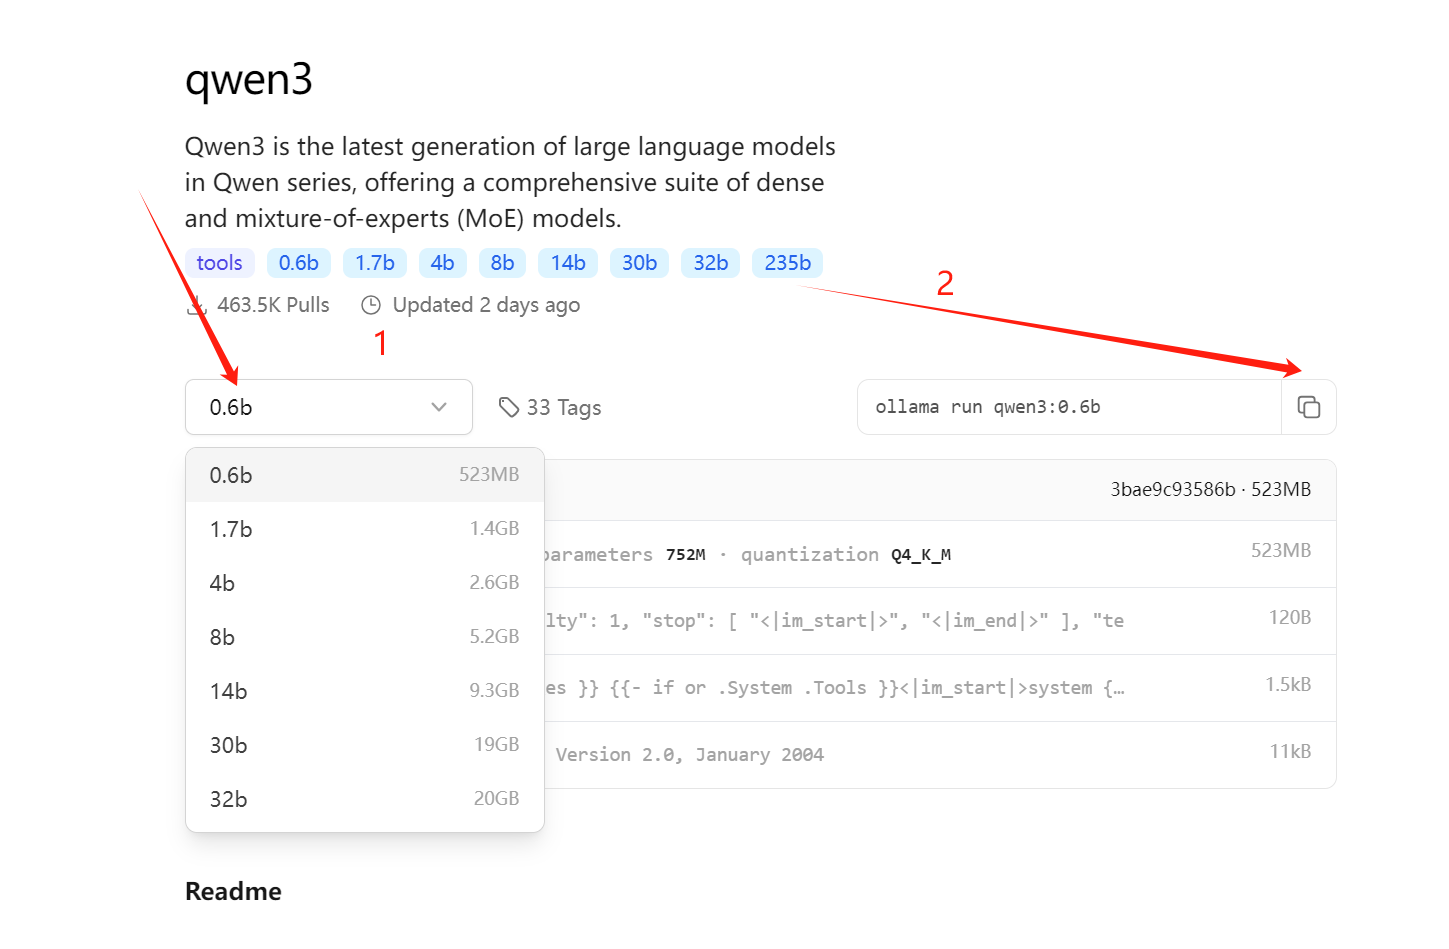
2.根据以下链接选择你的模型深度
https://ollama.com/library/qwen3
Qwen3系列提供了多种规模的模型以适应不同的应用场景和计算资源需求,包括两种基于混合专家(MoE)架构的模型和六种稠密(Dense)架构的模型。以下是Qwen3系列中一些深度或参数规模较大的模型:
1.Qwen3-235B-A22B
这是Qwen3系列中的旗舰模型,拥有2350亿个总参数,在推理时激活其中的大约220亿参数。它在编程、数学、通用能力等多个基准测试中表现优异,超越了其他开源大模型。
2.Qwen3-30B-A3B
这款是基于MoE架构的模型,总参数量约为300亿,激活参数量为30亿。尽管其激活参数量较少,但性能却优于参数量更大的Qwen2.5-72B-Instruct模型。
3.Qwen3-32B
这是一个稠密架构的模型,参数量为320亿,适合企业大规模部署使用。它在保持高性能的同时,能够跨级超越Qwen2.5-72B的性能。
4.Qwen3-14B、Qwen3-8B、Qwen3-4B、Qwen3-1.7B 和 Qwen3-0.6B
这些都是不同参数规模的稠密模型,分别适用于从轻量端到旗舰部署的各种应用场景。
二、github上手动拉取
1.见链接拉取
https://github.com/QwenLM/Qwen3
2.将以下文件下载到一个文件夹内
https://www.modelscope.cn/models/Qwen/Qwen3-0.6B/files
3.新建test.py
内容用readme.md的52-95行,修改54行为存放1的路径,65行选取想问的话,代码如下:
from transformers import AutoModelForCausalLM, AutoTokenizermodel_name = "\\Qwen3-main\\qwen30.6b\\"# 此处改为你的路径# load the tokenizer and the model
tokenizer = AutoTokenizer.from_pretrained(model_name)
model = AutoModelForCausalLM.from_pretrained(model_name,torch_dtype="auto",device_map="auto"
)prompt = "你是什么"  #这里是你发送的信息位
messages = [{"role": "user", "content": prompt}
]
text = tokenizer.apply_chat_template(messages,tokenize=False,add_generation_prompt=True,enable_thinking=True  # 这里代表了是不是要思考,默认打开Switches between thinking and non-thinking modes. Default is True.
)
model_inputs = tokenizer([text], return_tensors="pt").to(model.device)# conduct text completion
generated_ids = model.generate(**model_inputs,max_new_tokens=32768 #这里代表了最大对话字符数
)
output_ids = generated_ids[0][len(model_inputs.input_ids[0]):].tolist()# the result will begin with thinking content in <think></think> tags, followed by the actual response
print(tokenizer.decode(output_ids, skip_special_tokens=True))
其中,
model_name存放你第二步下载的文件存放路径
prompt存放你发送的信息
enable_thinking代表是否思考
max_new_tokens代表字符长度
让它的深层模型跑了多轮对话代码,测试了一下可用贴出来:
from transformers import AutoModelForCausalLM, AutoTokenizerclass QwenChatbot:def __init__(self, model_name="xxx"):#此处xxx代表你第2步的文件存放路径self.tokenizer = AutoTokenizer.from_pretrained(model_name)self.model = AutoModelForCausalLM.from_pretrained(model_name,torch_dtype="auto",device_map="auto")self.history = []def generate_response(self, user_input, enable_thinking=True):# 特殊指令处理if user_input.strip().lower() == "/think":print("[Info] 启用思考模式")return "", ""elif user_input.strip().lower() == "/no_think":print("[Info] 禁用思考模式")return "", ""messages = self.history + [{"role": "user", "content": user_input}]text = self.tokenizer.apply_chat_template(messages,tokenize=False,add_generation_prompt=True,enable_thinking=enable_thinking # 默认启用思考模式)inputs = self.tokenizer(text, return_tensors="pt").to(self.model.device)response_ids = self.model.generate(**inputs, max_new_tokens=4096)[0][len(inputs.input_ids[0]):].tolist()full_response = self.tokenizer.decode(response_ids, skip_special_tokens=False)thinking_start_tag = "<|thinking|>"thinking_end_tag = "</|thinking|>"response_start_tag = "<|response|>"response_end_tag = "</|response|>"thinking_part = ""response_part = ""# 提取思考部分if thinking_start_tag in full_response and thinking_end_tag in full_response:t_start = full_response.find(thinking_start_tag) + len(thinking_start_tag)t_end = full_response.find(thinking_end_tag)if t_start != -1 and t_end != -1:thinking_part = full_response[t_start:t_end].strip()# 提取回答部分if response_start_tag in full_response and response_end_tag in full_response:r_start = full_response.find(response_start_tag) + len(response_start_tag)r_end = full_response.find(response_end_tag)if r_start != -1 and r_end != -1:response_part = full_response[r_start:r_end].strip()else:# 如果没有 response tag,则整个输出是回答response_part = full_response.strip()# 更新历史记录self.history.append({"role": "user", "content": user_input})self.history.append({"role": "assistant","content": f"{thinking_start_tag}{thinking_part}{thinking_end_tag}"f"{response_start_tag}{response_part}{response_end_tag}"})return thinking_part, response_partif __name__ == "__main__":chatbot = QwenChatbot()print("欢迎使用 Qwen3 多轮对话系统!")print("已默认启用思考模式。你可以输入内容进行对话。")print("提示:输入 '/no_think' 关闭思考模式,输入 'exit' 结束对话。\n")while True:try:user_input = input("You: ").strip()if not user_input or user_input.lower() in ["exit", "quit"]:print("再见!")break# 判断是否需要禁用思考模式enable_thinking = Trueif user_input.lower() == "/no_think":thinking, response = chatbot.generate_response(user_input, enable_thinking=False)else:thinking, response = chatbot.generate_response(user_input, enable_thinking=True)if thinking:print("\n[🧠 思考过程]")print(thinking)if response:print("\n[✅ 最终回答]")print(response)print()except KeyboardInterrupt:print("\n用户中断。退出程序...")break三、测试结果
1.测试机器的一些配置信息
CPU:I5-11300H
内存:16G-LPDDR4-4267HZ
基于CPU运行,windows10。
2.结果
博主本地主要试用了两种小参数模型:0.6b和1.7b,效果上看,1.7b相比0.6b无论是think与否确实较为“智能”,当然只是凭几轮对话,并没有进行各项指标的测试,博主并没有针对一些特定任务进行训练测试过暂时不做评价,给各位的参考是这种浅层模型如果不针对训练而是直接加载官网提供的预训练权重的话仅能给学生的毕业设计作API接口用,哈哈哈。在本机状态下0.6b肯定略快但不多于1.7b,具体表现在:
CPU占有率1.7b相比0.6b平均多了百分之5-10左右。
内存占用率上0.6B模型是占用约1.5GB,1.7B模型占用3.5GB。
没有计算no-think与think耗时,think肯定耗时久的多,且第一步ollama部署的模型运行起来明显比第二步快多了,只是有发现除了第一句话以外,第二句及以后只显示think其他不显示,没有深究原因,有此现象或解决的小伙伴欢迎评论区发言!
防杠:没有做更多、更精确的测试
四、一些遇到的报错
1.OSError: We couldn't connect to 'https://huggingface.co' to load the files, and couldn't find them in the cached files.
代表缺少权重和模型配置文件,去下载好并确定路径是否写正确
2.module 'torch' has no attribute 'compiler'
CPU环境下应保证torch版本大于2.3,博主此文采用的环境是torch2.7+cpu
3.ValueError: Using a `device_map` or `tp_plan` requires `accelerate`. You can install it with `pip install accelerate`
终端运行以下命令
pip install accelerate
4.RuntimeError: No GPU found. A GPU is needed for FP8 quantization.
0.6B模型在第二步第2节还有一个FP8的例子,这个需要GPU,别下错了
5.RuntimeError: Error(s) in loading state_dict for Embedding:
size mismatch for weight: copying a param with shape torch.Size([151936, 1024]) from checkpoint, the shape in current model is torch.Size([151936, 4096]).
一般出现在第二步手动拉取,需要确定权重和配置文件是否是对应的还是下载错误,你第二步第2小节下载的是什么深度的模型权重,其配置文件也得对应,别放错了。
有更多问题欢迎评论区讨论!采用Ollama的话应该是不会有这些报错的,忙,私信勿扰。


)


