1、官方文档:
数据库准备 | Gitea Documentation
使用二进制文件安装 | Gitea Documentation
2、具体操作
1)创建gitea数据库
2)检查是否安装 Git。要求 Git 版本 >= 2.0。
如需升级git请参考以下链接:linux升级git版本-CSDN博客
[root@localhost root]# git --version
git version 2.31.0
3)创建git用户:(我本机系统 CentOS,即取下方代码)
# On Ubuntu/Debian:
adduser \--system \--shell /bin/bash \--gecos 'Git Version Control' \--group \--disabled-password \--home /home/git \git# On Fedora/RHEL/CentOS:
groupadd --system git
adduser \--system \--shell /bin/bash \--comment 'Git Version Control' \--gid git \--home-dir /home/git \--create-home \git
4)创建gitea目录,在此目录( /var/lib/gitea )下下载gitea 可执行文件
[root@localhost root]#
mkdir -p /var/lib/gitea/custom
mkdir -p /var/lib/gitea/data
mkdir -p /var/lib/gitea/log
chown -R git:git /var/lib/gitea/
chmod -R 770 /var/lib/gitea/[root@localhost root]# cd /var/lib/gitea/
[root@localhost gitea]# wget -O gitea https://dl.gitea.com/gitea/1.21.1/gitea-1.21.1-linux-amd64
[root@localhost gitea]# chmod +x gitea[root@localhost gitea]# ll
总用量 139980
drwxr-x---  3 git git        18 12月 20 14:09 custom
drwxr-x--- 17 git git       257 12月 20 14:10 data
-rwxr-x---  1 git git 143338448 12月 20 13:57 gitea (此为gitea可执行文件)
drwxrwxr-x  2 git git         6 12月 20 13:10 lfs
drwxr-x---  2 git git         6 12月 20 12:08 log
4) 切换到gitea用户,运行gitea可执行文件,生成gitea数据库的数据表,在浏览器执行 http://127.0.0.1:3000 配置gitea仓库所需信息
[root@localhost root]# su git[git@localhost gitea]# ./gitea5)配置service 自动启动gitea
在 Linux 中以 service 方式运行 | Gitea Documentation
5.1)错误界面
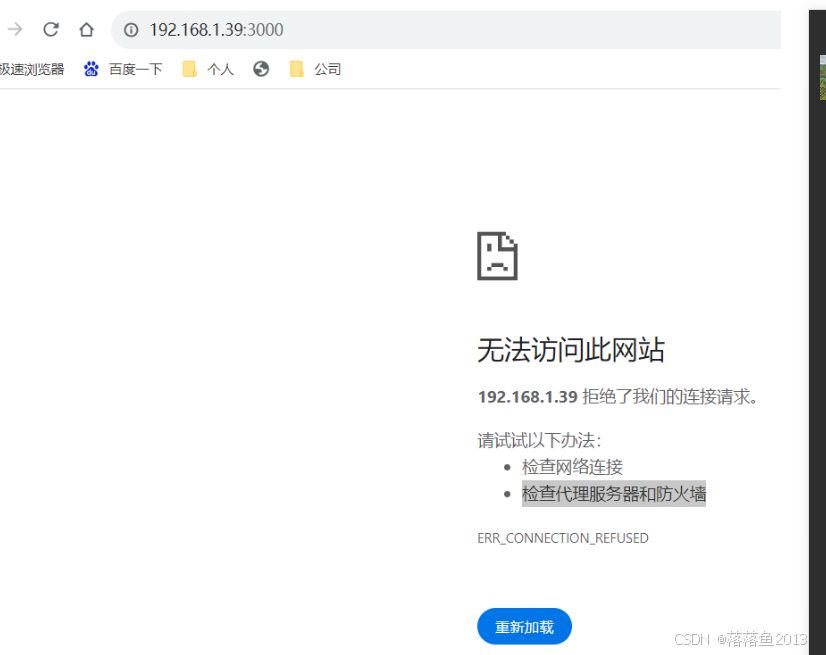
5.2)配置自启动
服务器重启后,再访问gitea网址,若出现5.1中的错误界面,大概率是未配置服务器自启动导致,具体配置参数如下:
[Unit]
Description=Gitea (Git with a cup of tea)
After=network.target
###
# Don't forget to add the database service dependencies
###
#
#Wants=mysql.service
#After=mysql.service
#
#Wants=mariadb.service
#After=mariadb.service
#
#Wants=postgresql.service
#After=postgresql.service
#
#Wants=memcached.service
#After=memcached.service
#
#Wants=redis.service
#After=redis.service
#
###
# If using socket activation for main http/s
###
#
#After=gitea.main.socket
#Requires=gitea.main.socket
#
###
# (You can also provide gitea an http fallback and/or ssh socket too)
#
# An example of /etc/systemd/system/gitea.main.socket
###
##
## [Unit]
## Description=Gitea Web Socket
## PartOf=gitea.service
##
## [Socket]
## Service=gitea.service
## ListenStream=<some_port>
## NoDelay=true
##
## [Install]
## WantedBy=sockets.target
##
###[Service]
# Uncomment the next line if you have repos with lots of files and get a HTTP 500 error because of that
# LimitNOFILE=524288:524288
RestartSec=2s
Type=simple
User=git
Group=git
WorkingDirectory=/var/lib/gitea/
# If using Unix socket: tells systemd to create the /run/gitea folder, which will contain the gitea.sock file
# (manually creating /run/gitea doesn't work, because it would not persist across reboots)
#RuntimeDirectory=gitea
#此处ExecStart的值要改为您配置的gitea可执行文件的真实路径。
ExecStart=/var/lib/gitea/gitea
Restart=always
Environment=USER=git HOME=/home/git GITEA_WORK_DIR=/var/lib/gitea
# If you install Git to directory prefix other than default PATH (which happens
# for example if you install other versions of Git side-to-side with
# distribution version), uncomment below line and add that prefix to PATH
# Don't forget to place git-lfs binary on the PATH below if you want to enable
# Git LFS support
#Environment=PATH=/path/to/git/bin:/bin:/sbin:/usr/bin:/usr/sbin
# If you want to bind Gitea to a port below 1024, uncomment
# the two values below, or use socket activation to pass Gitea its ports as above
###
#CapabilityBoundingSet=CAP_NET_BIND_SERVICE
#AmbientCapabilities=CAP_NET_BIND_SERVICE
###
# In some cases, when using CapabilityBoundingSet and AmbientCapabilities option, you may want to
# set the following value to false to allow capabilities to be applied on gitea process. The following
# value if set to true sandboxes gitea service and prevent any processes from running with privileges
# in the host user namespace.
###
#PrivateUsers=false
###[Install]
WantedBy=multi-user.target


