Anaconda包含内容较多,这边采用miniconda进行安装演示。
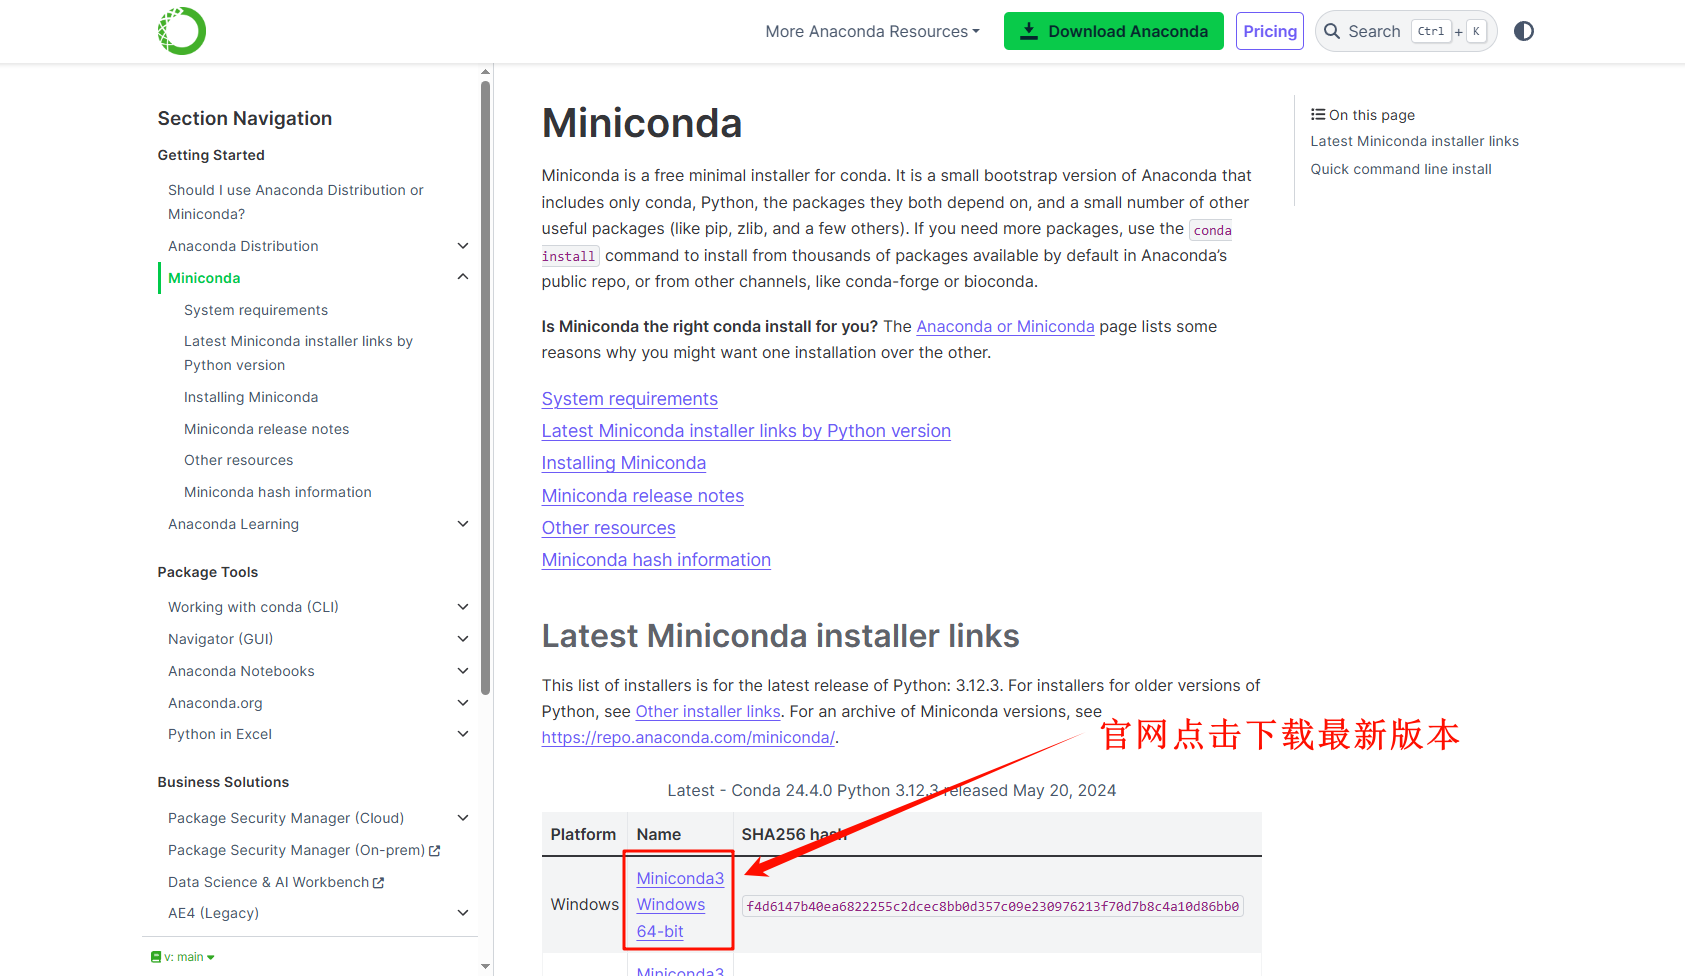
下载安装包
官网链接:https://docs.anaconda.com/miniconda/
蓝奏云加速链接:https://wwt.lanzoue.com/i6ts3225vuef
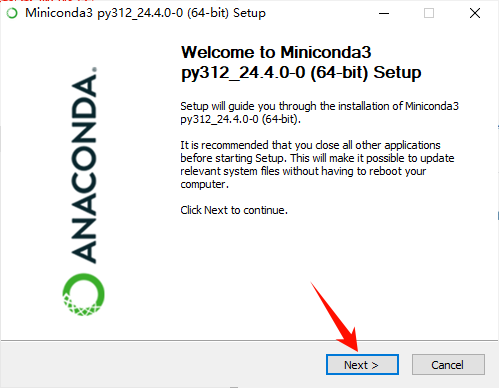
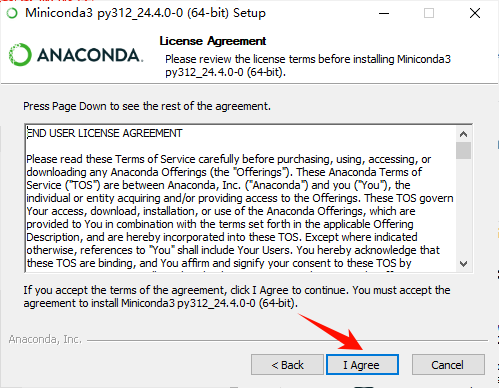
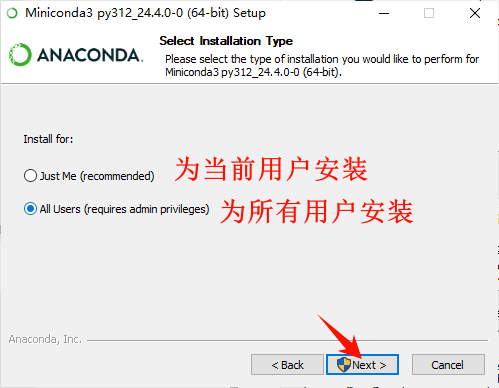
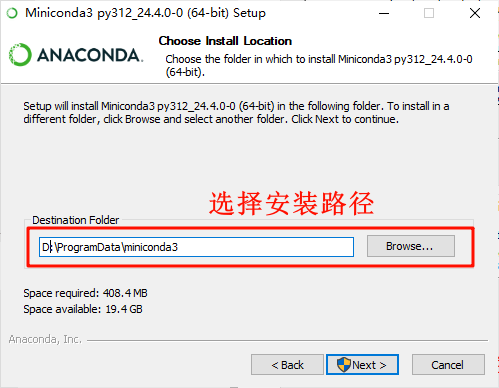
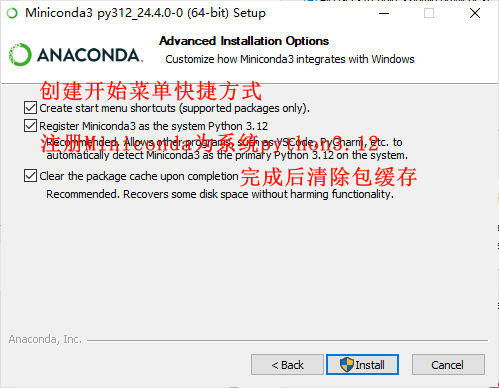
开始安装
配置conda
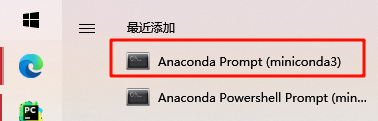
在Windows开始菜单中,找到刚安装的程序并打开。
配置conda源
清华源官网:https://mirrors.tuna.tsinghua.edu.cn/help/anaconda/
- 生成.condarc文件,在Anaconda Prompt,输入以下命令生成.condarc文件:
conda config --set show_channel_urls yes

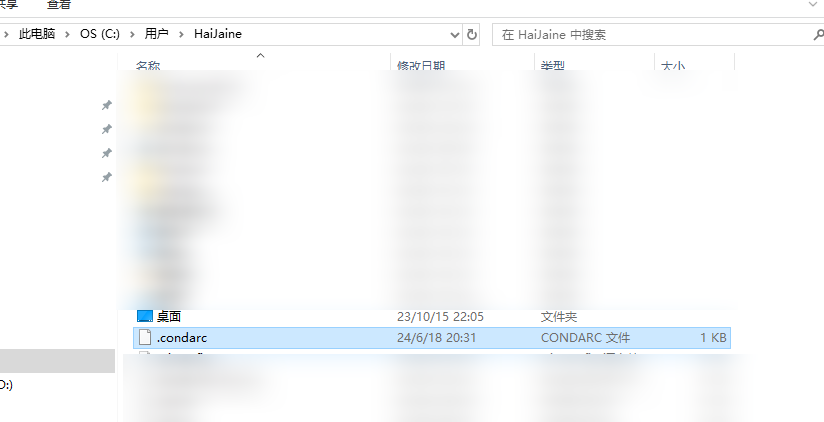
执行后,会在用户目录下生成一个.condarc文件
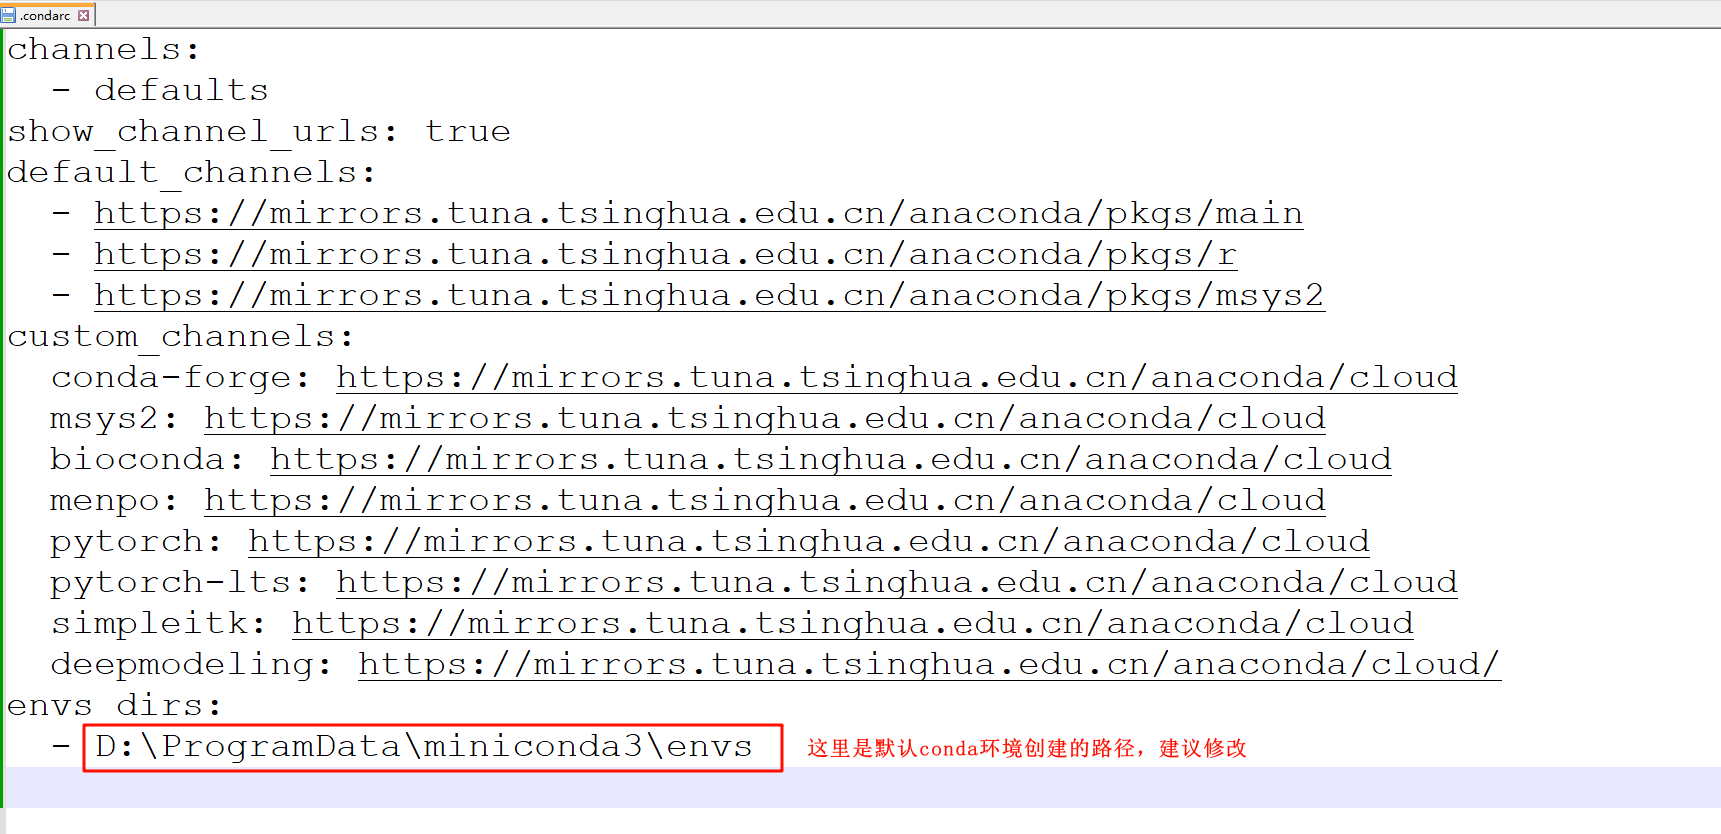
- 将下面代码复制到
.condarc文件中,其中最后两行作用是修改默认conda创建环境的路径。
channels:- defaults
show_channel_urls: true
default_channels:- https://mirrors.tuna.tsinghua.edu.cn/anaconda/pkgs/main- https://mirrors.tuna.tsinghua.edu.cn/anaconda/pkgs/r- https://mirrors.tuna.tsinghua.edu.cn/anaconda/pkgs/msys2
custom_channels:conda-forge: https://mirrors.tuna.tsinghua.edu.cn/anaconda/cloudmsys2: https://mirrors.tuna.tsinghua.edu.cn/anaconda/cloudbioconda: https://mirrors.tuna.tsinghua.edu.cn/anaconda/cloudmenpo: https://mirrors.tuna.tsinghua.edu.cn/anaconda/cloudpytorch: https://mirrors.tuna.tsinghua.edu.cn/anaconda/cloudpytorch-lts: https://mirrors.tuna.tsinghua.edu.cn/anaconda/cloudsimpleitk: https://mirrors.tuna.tsinghua.edu.cn/anaconda/clouddeepmodeling: https://mirrors.tuna.tsinghua.edu.cn/anaconda/cloud/
envs_dirs:- D:\ProgramData\miniconda3\envs
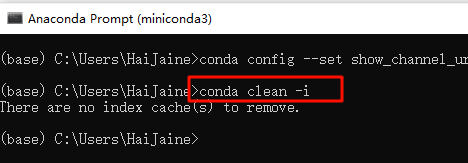
- 保存文件后,在命令窗口执行命令
conda clean -i清除索引缓存,保证用的是镜像站提供的索引。
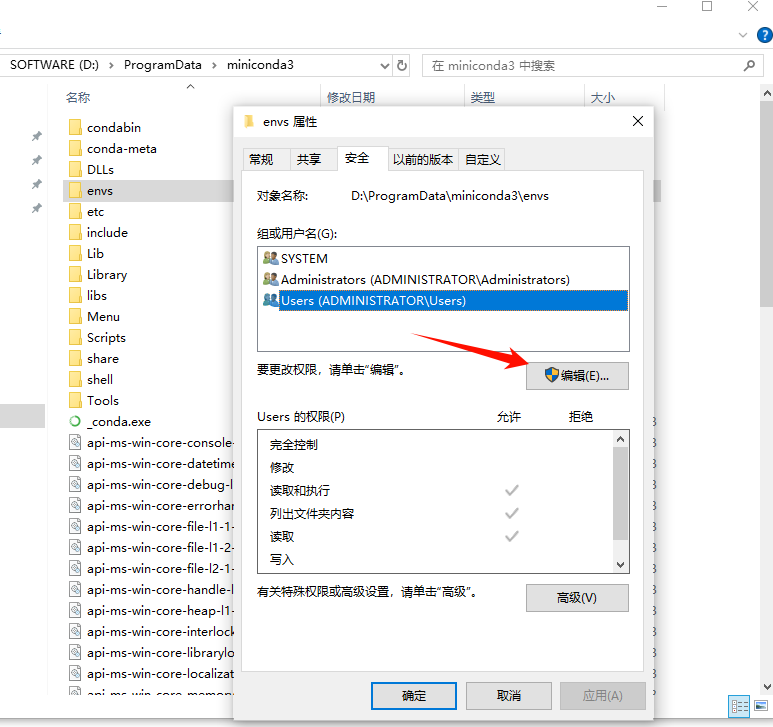
- 需要给conda环境创建路径修改权限

conda环境操作
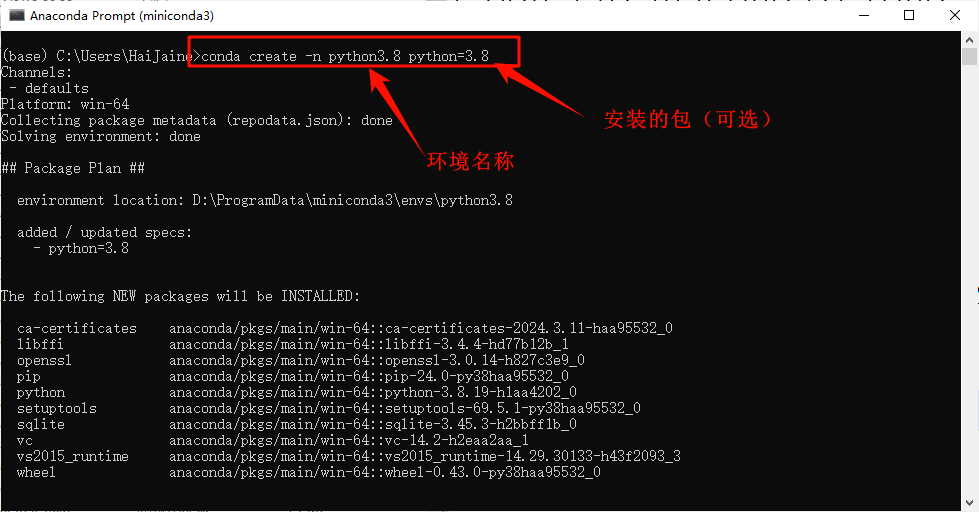
创建conda环境
conda create -n python3.8 python=3.8
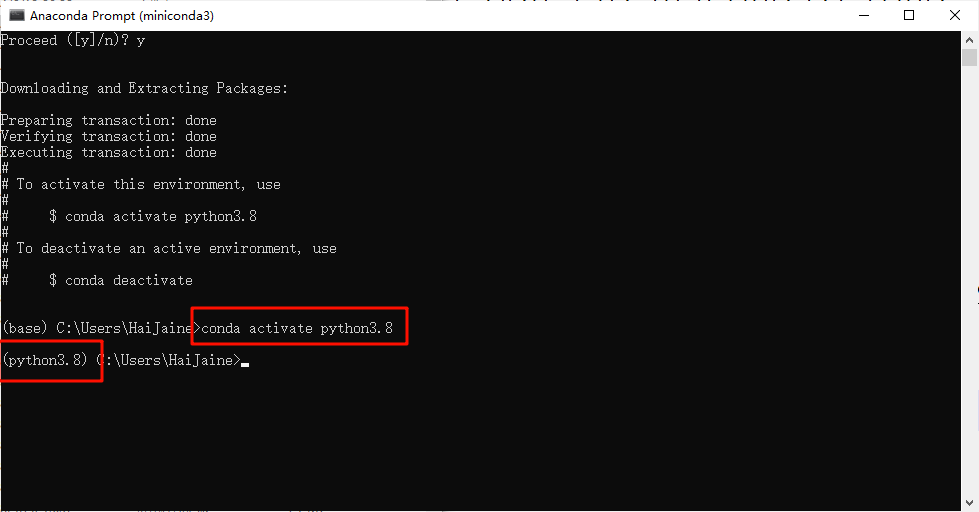
激活环境
conda activate python3.8
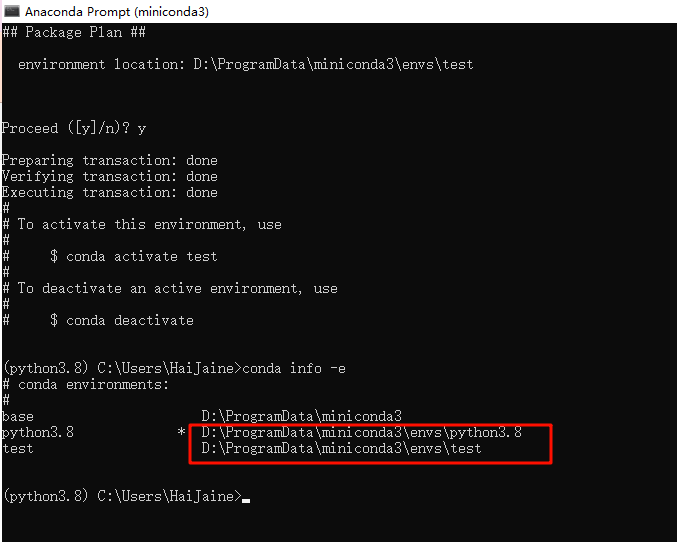
查看conda环境
由于前面在.condarc文件中修改了默认安装路径,下图即可验证安装的路径。
conda info -e
卸载conda环境
conda remove -n test --all

配置pip
修改pip源
pip源参考博客:https://blog.csdn.net/qq_41375318/article/details/106895836
# 清华源【全局配置方式】
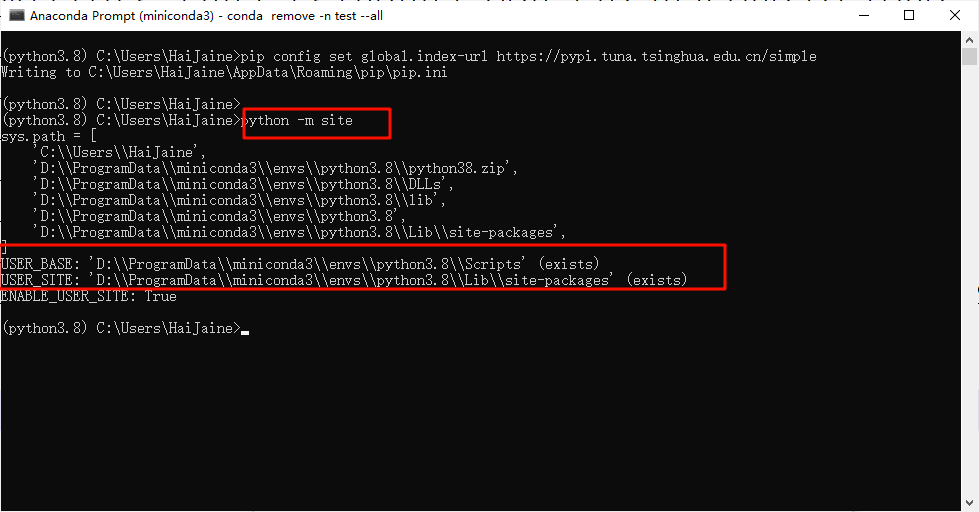
pip config set global.index-url https://pypi.tuna.tsinghua.edu.cn/simple

pip install安装的路径修改
pip路径修改参考博客:https://blog.csdn.net/stone9528/article/details/127321034
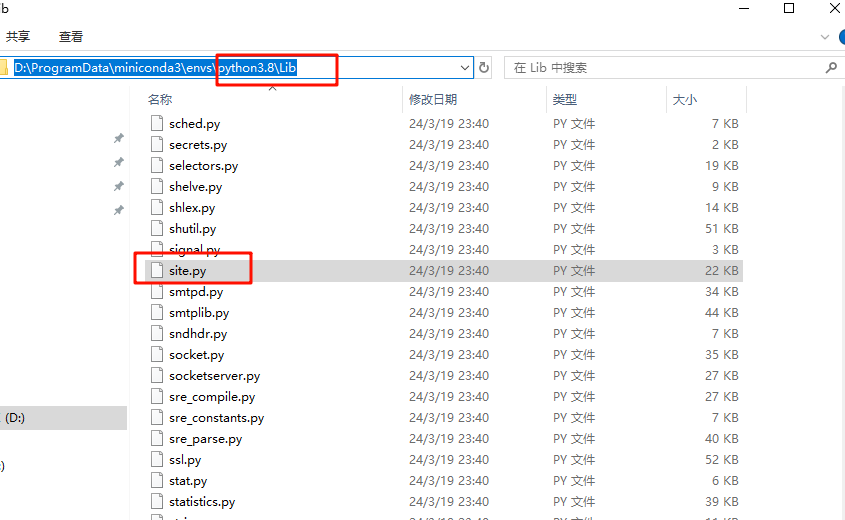
如果是使用conda创建的虚拟环境,则可以在环境的路径下找到site.py文件。使用其他方式安装的同理,需要找到site.py文件。
打开文件后,搜索USER_SITE约在88行。
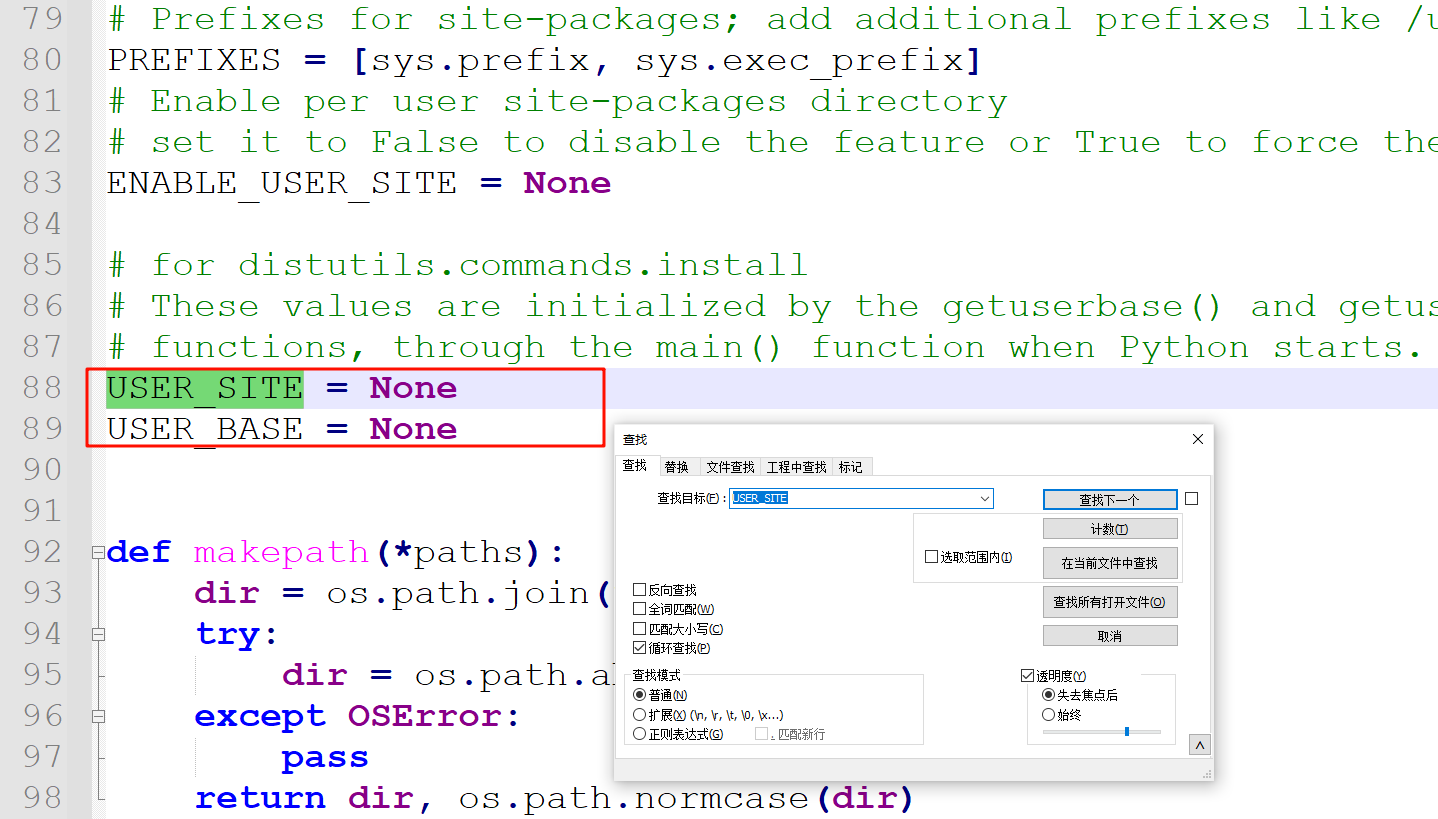
USER_SITE 表示安装路径
USER_BASE 表示执行下载的pip等脚本的路径
# 我的修改如下
USER_SITE = "D:\ProgramData\miniconda3\envs\python3.8\Lib\site-packages"
USER_BASE = "D:\ProgramData\miniconda3\envs\python3.8\Scripts"
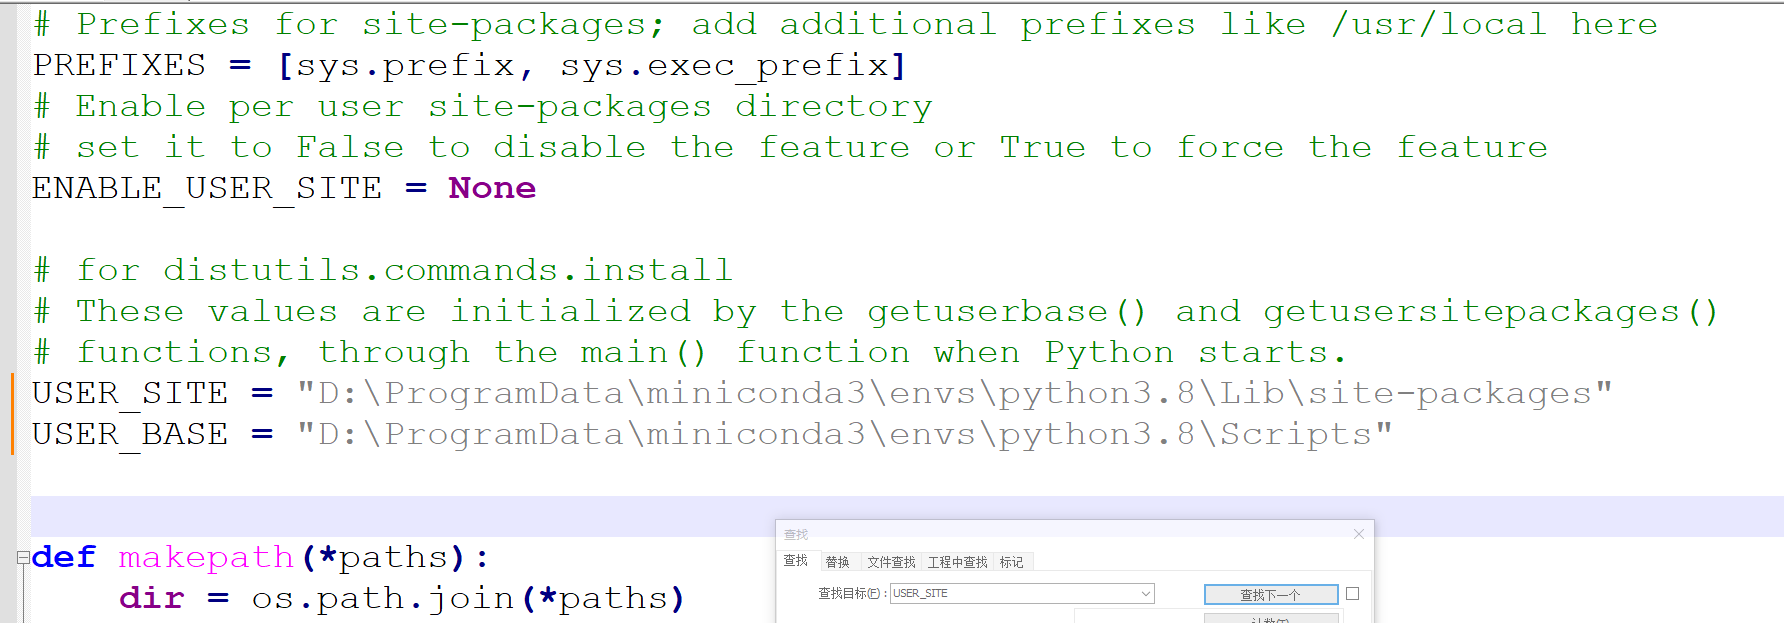
保存退出即可完成修改。使用以下命令查看修改结果
python -m site
)

)


