早先写过《【K8S 六】Harbor镜像仓库高可用方案(更新:2022-06-21)》。本篇算是早先一篇文章的前传,或者说是补充。当时,为了更突出高可用性,并未对搭建过程做过多说明。
准备docker-compose工具
下载地址:Release v2.31.0 · docker/compose · GitHub
可以在服务器上使用wget命令直接下载或者自行下载后上传服务器,然后拷贝到/usr/local/bin下,并授予可执行权限:
/usr/bin/cp -f docker-compose-linux-x86_64 /usr/local/bin/docker-compose
chmod 755 /usr/local/bin/docker-compose
验证是否已经准备妥当:
docker-compose --version
Docker Compose version v2.31.0
准备Harbor安装介质
下载地址:Release v2.11.2 · goharbor/harbor · GitHub
解压到安装目录:
tar xvf harbor-offline-installer-v2.11.2.tgz -C /home/user1/
准备Docker环境
假设你已经安装好Docker了
创建密钥和证书
1、配置/etc/hosts
2、创建证书目录:mkdir -p /etc/ssl/certs/harbor-certs/
3、创建CA和Server证书
cd /etc/ssl/certs/harbor-certs/
openssl genrsa -out ca.key 4096
openssl req -x509 -new -nodes -sha512 -days 36500 -subj "/CN=192.168.XX.XXX" -key ca.key -out ca.crt
openssl genrsa -out server.key 4096
openssl req -new -sha512 -subj "/CN=192.168.XX.XXX" -key server.key -out server.csr
4、创建V3证书
cat /etc/ssl/certs/harbor-certs/v3.ext <<-EOF
authorityKeyIdentifier=keyid,issuer
basicConstraints=CA:FALSE
keyUsage = digitalSignature, nonRepudiation, keyEncipherment, dataEncipherment
extendedKeyUsage = serverAuth
subjectAltName = @alt_names
[alt_names]
DNS.1=anolis-XX-XXX
DNS.2=localhost
IP.1=192.168.XX.XXX
IP.2=240a:4090:2061:200::4a10:230
EOF
openssl x509 -req -sha512 -days 36500 -extfile v3.ext -CA ca.crt -CAkey ca.key -CAcreateserial -in server.csr -out server.crt
5、配置本地Docker使用证书访问Harbor仓库
mkdir -p /etc/docker/certs.d/anolis-XX-XXX
/usr/bin/cp -f /etc/ssl/certs/harbor-certs/server.crt /etc/docker/certs.d/anolis-XX-XXX/
安装Harbor
准备配置文件
cp harbor.yml.tmpl harbor.yml
配置hostname,此处如果没有域名,直接配IP,不要配置主机名
< hostname: reg.mydomain.com
---
> hostname: 192.168.XX.XXX
禁用http
< http:
---
> #http:
10c10
< port: 80
---
> # port: 80
配置证书和密钥
< certificate: /your/certificate/path
< private_key: /your/private/key/path
---
> certificate: /etc/ssl/certs/harbor-certs/server.crt
> private_key: /etc/ssl/certs/harbor-certs/server.key
加载Harbor镜像
如果服务器无法访问互联网,需要手动load一下,以免访问互联网下载(可能会卡住很长时间哦~)
docker load -i harbor.v2.11.2.tar.gz
查看镜像列表
docker images
REPOSITORY TAG IMAGE ID CREATED SIZE
goharbor/harbor-exporter v2.11.2 520de0cd30c7 3 weeks ago 108MB
goharbor/redis-photon v2.11.2 bb0d92ddf3ec 3 weeks ago 165MB
goharbor/trivy-adapter-photon v2.11.2 0962772f9c8f 3 weeks ago 347MB
goharbor/harbor-registryctl v2.11.2 075c10d45191 3 weeks ago 162MB
goharbor/registry-photon v2.11.2 1365718c5208 3 weeks ago 84.8MB
goharbor/nginx-photon v2.11.2 2949037133e7 3 weeks ago 154MB
goharbor/harbor-log v2.11.2 9ae20475f5ca 3 weeks ago 163MB
goharbor/harbor-jobservice v2.11.2 8dbbe22ef281 3 weeks ago 159MB
goharbor/harbor-core v2.11.2 6c2be6bdb874 3 weeks ago 185MB
goharbor/harbor-portal v2.11.2 a3440cd04321 3 weeks ago 162MB
goharbor/harbor-db v2.11.2 a5fc5485967b 3 weeks ago 271MB
goharbor/prepare v2.11.2 74c41ed4e2a9 3 weeks ago 205MB
进行安装前检查
./prepare
[Step 4]: preparing harbor configs ...
prepare base dir is set to /home/user1/harbor
docker: Error response from daemon: privileged mode is incompatible with user namespaces. You must run the container in the host namespace when running privileged mode.
See 'docker run --help'.
这里报错信息:privileged模式和现有的user namespaces不兼容;如果要用privileged就必须使用host namespace才行。卧槽~~以前没遇到过这个问题啊!难道是因为我docker版本太新了(V26.1.3)?查看了一下/etc/docker/daemon.json,我加固配置了"userns-remap": "default",去掉该配置,重启docker服务就能解决了。
进行安装
./install.sh
[Step 0]: checking if docker is installed ...
[Step 1]: checking docker-compose is installed ...
[Step 2]: loading Harbor images ...
[Step 3]: preparing environment ...
[Step 4]: preparing harbor configs ...
prepare base dir is set to /home/user1/harbor
Clearing the configuration file: /config/portal/nginx.conf
Clearing the configuration file: /config/log/logrotate.conf
Clearing the configuration file: /config/log/rsyslog_docker.conf
Clearing the configuration file: /config/nginx/nginx.conf
Clearing the configuration file: /config/core/env
Clearing the configuration file: /config/core/app.conf
Clearing the configuration file: /config/registry/passwd
Clearing the configuration file: /config/registry/config.yml
Clearing the configuration file: /config/registryctl/env
Clearing the configuration file: /config/registryctl/config.yml
Clearing the configuration file: /config/db/env
Clearing the configuration file: /config/jobservice/env
Clearing the configuration file: /config/jobservice/config.yml
Generated configuration file: /config/portal/nginx.conf
Generated configuration file: /config/log/logrotate.conf
Generated configuration file: /config/log/rsyslog_docker.conf
Generated configuration file: /config/nginx/nginx.conf
Generated configuration file: /config/core/env
Generated configuration file: /config/core/app.conf
Generated configuration file: /config/registry/config.yml
Generated configuration file: /config/registryctl/env
Generated configuration file: /config/registryctl/config.yml
Generated configuration file: /config/db/env
Generated configuration file: /config/jobservice/env
Generated configuration file: /config/jobservice/config.yml
loaded secret from file: /data/secret/keys/secretkey
Generated configuration file: /compose_location/docker-compose.yml
Clean up the input dir
Note: stopping existing Harbor instance ...
WARN[0000] /home/user1/harbor/docker-compose.yml: `version` is obsolete
[Step 5]: starting Harbor ...
WARN[0000] /home/user1/harbor/docker-compose.yml: `version` is obsolete
[+] Running 10/10
✔ Network harbor_harbor Created 0.3s
✔ Container harbor-log Started 0.6s
✔ Container registryctl Started 0.9s
✔ Container redis Started 0.9s
✔ Container harbor-db Started 0.9s
✔ Container registry Started 0.9s
✔ Container harbor-portal Started 0.9s
✔ Container harbor-core Started 1.2s
✔ Container harbor-jobservice Started 1.4s
✔ Container nginx Started 1.5s
✔ ----Harbor has been installed and started successfully.----
验证安装
docker-compose ps -a查看所有的服务都是healthy即可。
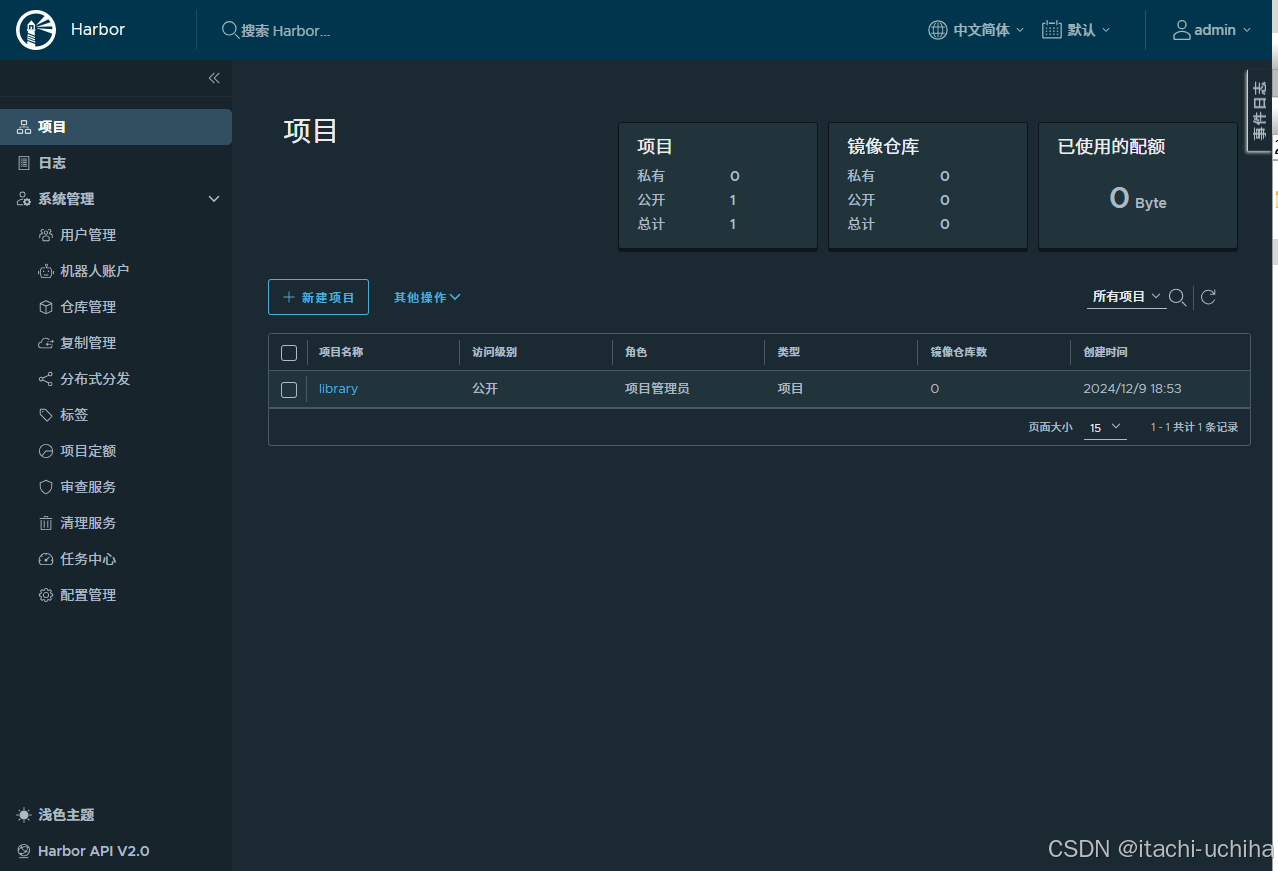
https://192.168.XX.XXX
)

)


